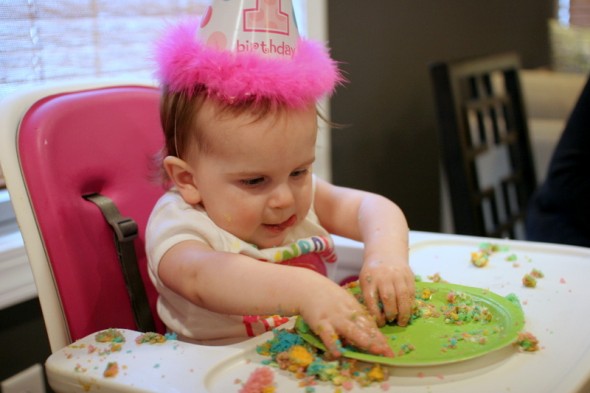
Ok, guys. Before I dive into photos and posts about our spring break road trip, I need to share about this birthday cake. I know, it’s another cake. But it’s H’s first ever birthday cake, and despite the storm of insanity that plopped down on our house the week of her birthday I was still determined to make it as awesome as I could.
 It’s a 4 layer white cake that I dyed to match her Hawaiian-themed party. It’s covered in (from scratch) vanilla buttercream. I had all kinds of elaborate ideas for how to frost and decorate this cake, but in the end it was really delicious and a fun surprise to cut into in front of the guests.
The cake recipe was from my trusty America’s Test Kitchen Family Baking Book. I specifically wanted white cake, not yellow cake, because I wanted to make sure the dyes would be bright and vibrant and not altered too much by the color of the cake batter. Now my white cake recipe was for a 2-layer cake, so I actually made 2 batches because I wanted this to be nice and high. Here’s the original recipe, with my food coloring modifications and no almond extract (in the original recipe, but why sully a perfectly good cake with almond extract?):
Ingredients for a 2-Layer White Cake
1 cup whole milk, room temperature
6 large egg whites, room temperature (save the egg yolks for the buttercream!)
1 tsp vanilla extract
2 1/4 cups cake flour
1 3/4 cups sugar
4 tsp baking powder
1 tsp salt
12 Tbsp (1.5 sticks) unsalted butter, cut into 12 pieces and softened
4 cups frosting or buttercream (we’ll get to that in a minute)
Preheat the oven to 350 and grease your cake pans. I like to butter and flour mine, then put a piece of parchment on the bottom. I actually have four 9″ cake pans, so I didn’t have to reuse the pans for the second batch of batter. I didn’t just double the batter because I thought it might overflow my stand mixer. I actually made the cake twice.
Whisk the milk, egg whites, and vanilla extract together in a small bowl.
In the bowl of your stand mixer (or a large bowl if you’re mixing by hand), whisk all the dry ingredients (flour, sugar, baking powder, salt) together. Then on medium-low speed add the butter to the flour mixture one piece at a time. Mix until it looks like moist crumbs, 1-3 minutes.
Beat in all but 1/2 cup of the milk mixture, then raise the mixer speed to medium and beat until “smooth, light, and fluffy,” 1-3 minutes. Reduce the mixer speed to low and add the last bit of the milk mixture. Mix until the batter looks slightly curdled, about 15 seconds. Give it a good stir with a rubber spatula.
Okay, let’s get coloring.
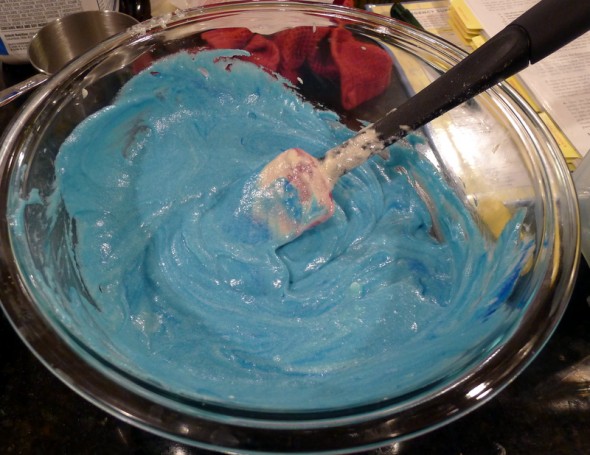
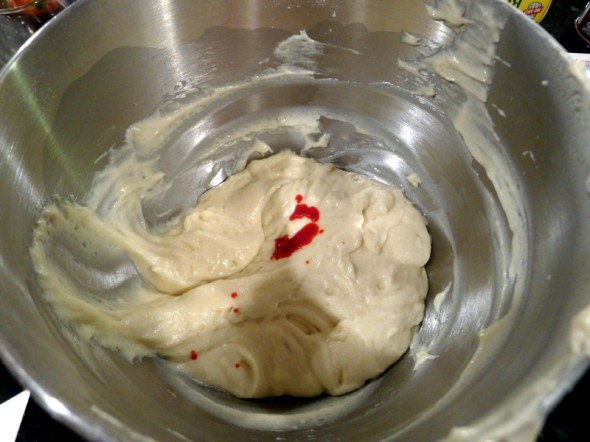
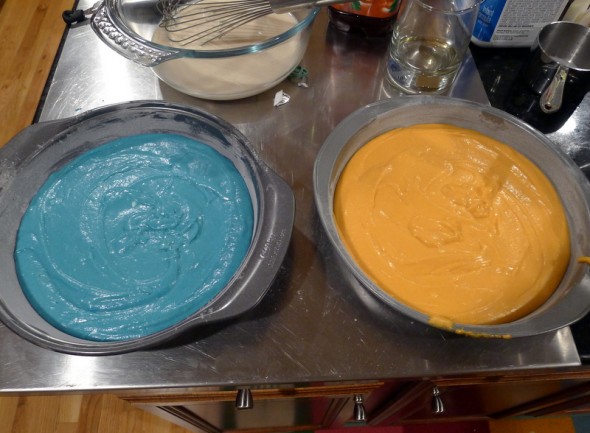
I figured out that each layer of this particular cake recipe was about 3 cups of batter (very messy trial and error). I can’t speak to other recipes, but if you use this one you should be good to go with 3 cups of batter to a layer. So with each batch I made, I portioned out 3 cups of batter into separate bowls for coloring. I used my good Ateco food coloring gels, which get more saturation with less dye than supermarket food coloring. And I have the entire range of colors, so I don’t have to mix. I never use any other food coloring, these are wicked good to keep on hand (sorry, we just got back from New England).
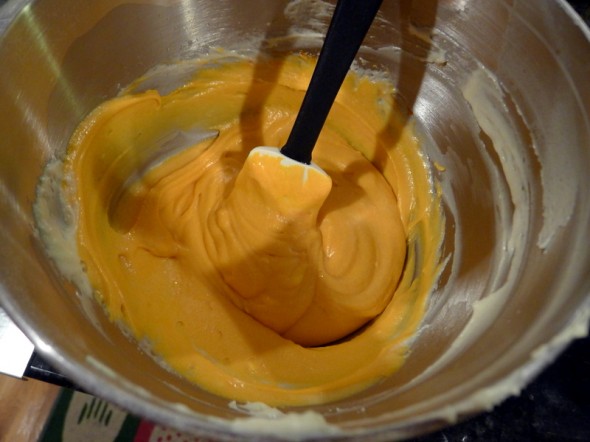
You have to really mix the gel in, and only add 2 or 3 drops max at a time before you stir and check for color.
They give such beautiful color.
So after I colored my layers I spread them into pans…
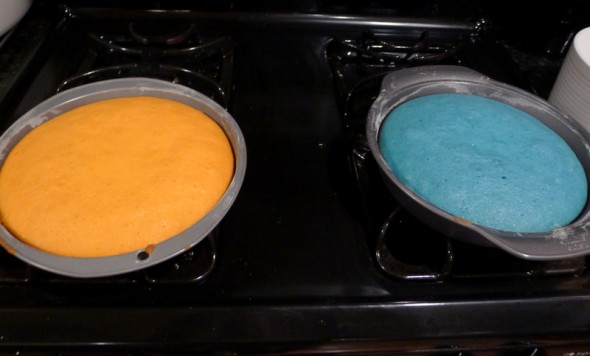
…and followed the recipes baking directions. Bake the cakes until a toothpick inserted into the center comes out with a few crumbs attached (but not wet), 20-25 minutes. Rotate the pans halfway through baking.
Let the cakes cool in the pans for 10 minutes, then flip out onto wire racks, peel off the parchment paper, and cool right side up completely before frosting. Bake your other layers (in my case, pink and green–which I did not photograph).
I made the cake layers the night before and wrapped each layer in plastic wrap once it was cool enough not to fall apart. This was to make completely sure that they were ready to be frosted on party day.
I used my favorite Vanilla Buttercream recipe for the frosting, and since it yields 4 cups, or enough for a 2-layer cake, I did go ahead and double the amount of frosting I made. That worked out fine in the stand mixer. Then I frosted the cake really simply, using this equally handy gadget to make sure the layers were exactly the same height. I stuck on her 1 candle and some of the silk flowers I had for decorating, and that’s all she wrote. I worried that a simple vanilla frosted cake wouldn’t look cool enough on the goodies table, but I got such a cool reaction from everyone when we sliced into the cake and they saw all the colored layers for the first time. So that was actually pretty awesome, and of course the birthday girl kinda dug it.

Leave A Comment