So I’ve had this Dr. Seuss fabric for a while now, at least a couple of years. I have 3 different collections of Dr. Seuss fabric and have never thought of a great project for them. But I’ve been working for weeks with the PTA on Read Across America projects for tomorrow, so I’ve had Dr. Seuss on the brain. It was time to make H a new play quilt (she’s been taking this one to her sitter’s all year) and I thought a lift-the-flap quilt would be really cool for her at this age. So I’ve been inspired, and I thought it would be a fun quilt to work on leading up to her first birthday.
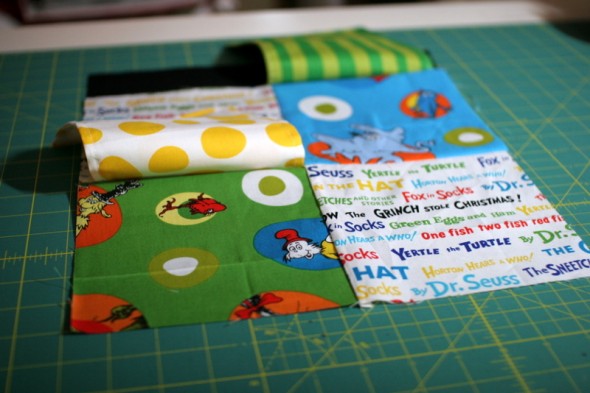
I’d seen a couple of examples on Pinterest that I liked, but none were quite right. So I’ve been experimenting with some design ideas and finally came up with a block that I’m really loving. A simple 4 patch using 2 squares of the text fabric and 2 squares with characters. The character squares are under the flaps, which are all made with various stripes and dots from my Grinch and Cat in the Hat fabrics. So at first glance it’s just text, dots, and stripes. But there are surprises under every flap. Every square I cut was 6.5″.
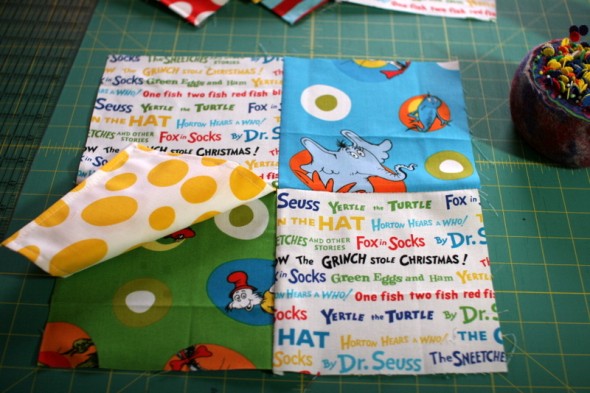 I’m using black fabric as the sashing between blocks, so the top right flaps were attached when I sewed those strips on.
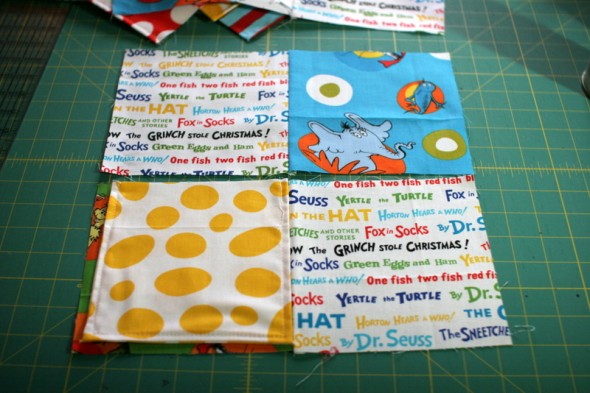 The bottom left flaps were pinned and sewn in when I sewed the 4 patches together.
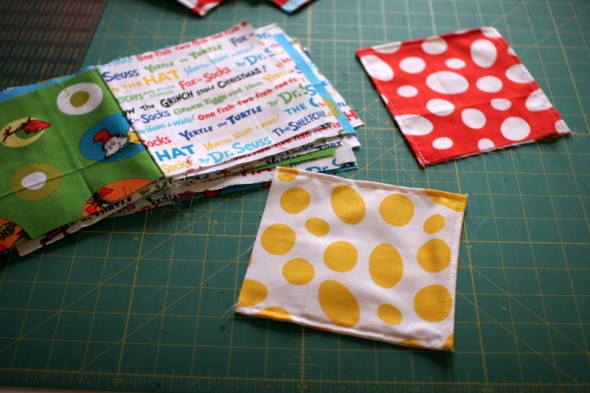 This actually ended up using way more fabric than I’d originally realized, because I’m making 16 blocks total. But it’s coming together so quickly.
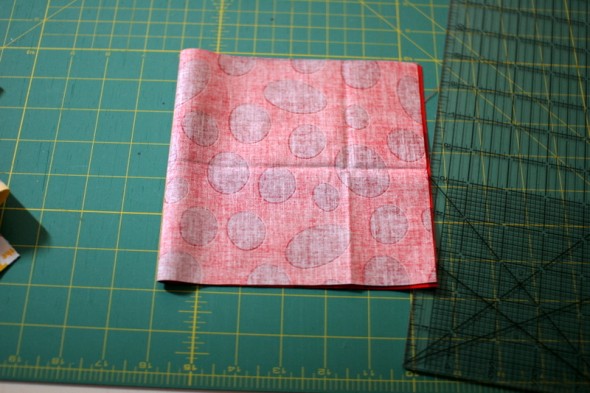
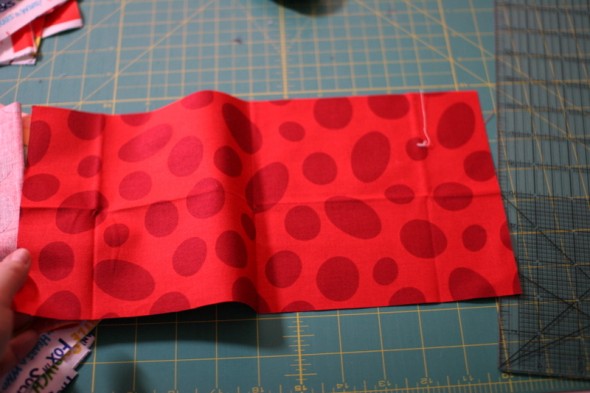
To make the flaps, I folded fat quarters in half and cut 6.5″ squares on the fold.
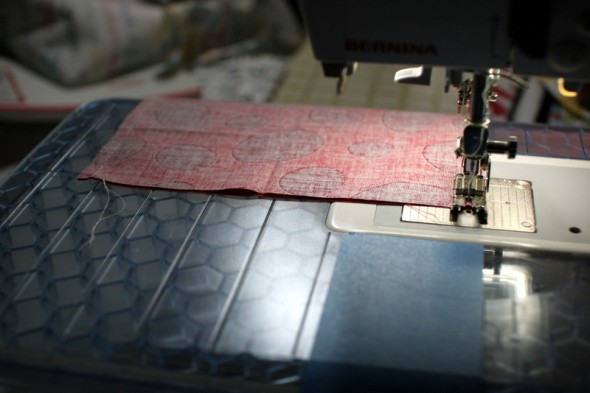
So really I cut rectangles, but I just found this made it much easier to sew up. Right sides together, I sewed three sides closed, leaving the side opposite the fold completely unstitched.
Then it was easy to turn them right side out and topstitch around the 3 sewn sides. That left the tops free and clean to pin in place over the 4 patch blocks I’d made.
So next I’m piecing the blocks together into a 4 block by 4 block quilt top. But, of course, I now realize that sewing the black sashing strips onto the left and right sides of these blocks will be tricky since the flaps may get in the way. I’ll have to be pretty careful with them, we’ll see how it works out!
Great idea, Babe. I can see Miss H carefully lifting each flap and studying the print underneath.